Aeronautical Inspection
- Inspections in the aeronautical, heavy and manufacturing industries
- Surface and sub-surface crack detection
F&G TECHNOLOGIES
F&G Technologies offers state-of-the-art technology that allows us to inspect aircraft components without the need to remove it.
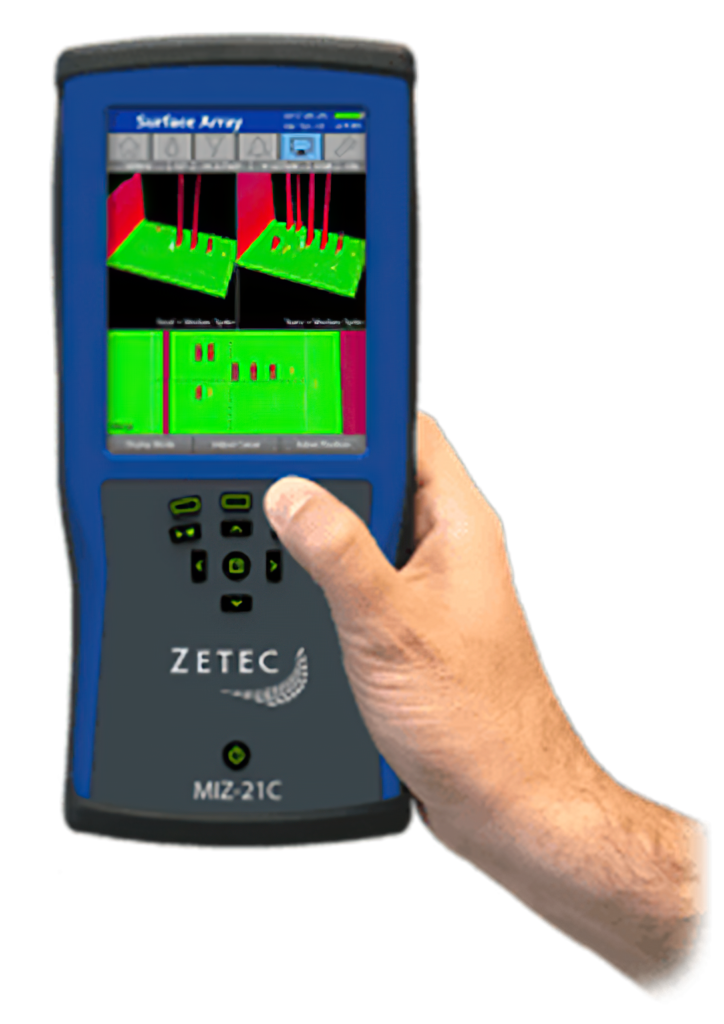
Among them is a revolutionary solution in the detection of cracks, fissures and subsurface corrosion by means of the MIZ 21C equipment based on multi-element faucault current technology. which is used to detect subsurface cracks and corrosion by inducing a magnetic field in the structure under inspection. These faults will disturb the amplitude and pattern of the eddy currents, helping to alert you to potential faults.
EDDY CURRENTE ARRAY
- Welds
- Gears
- Bearings
- Stress Corrosion Cracking
- Pipelines
- Fuselage
- Train wheels
- Railroad track

INSPECTION
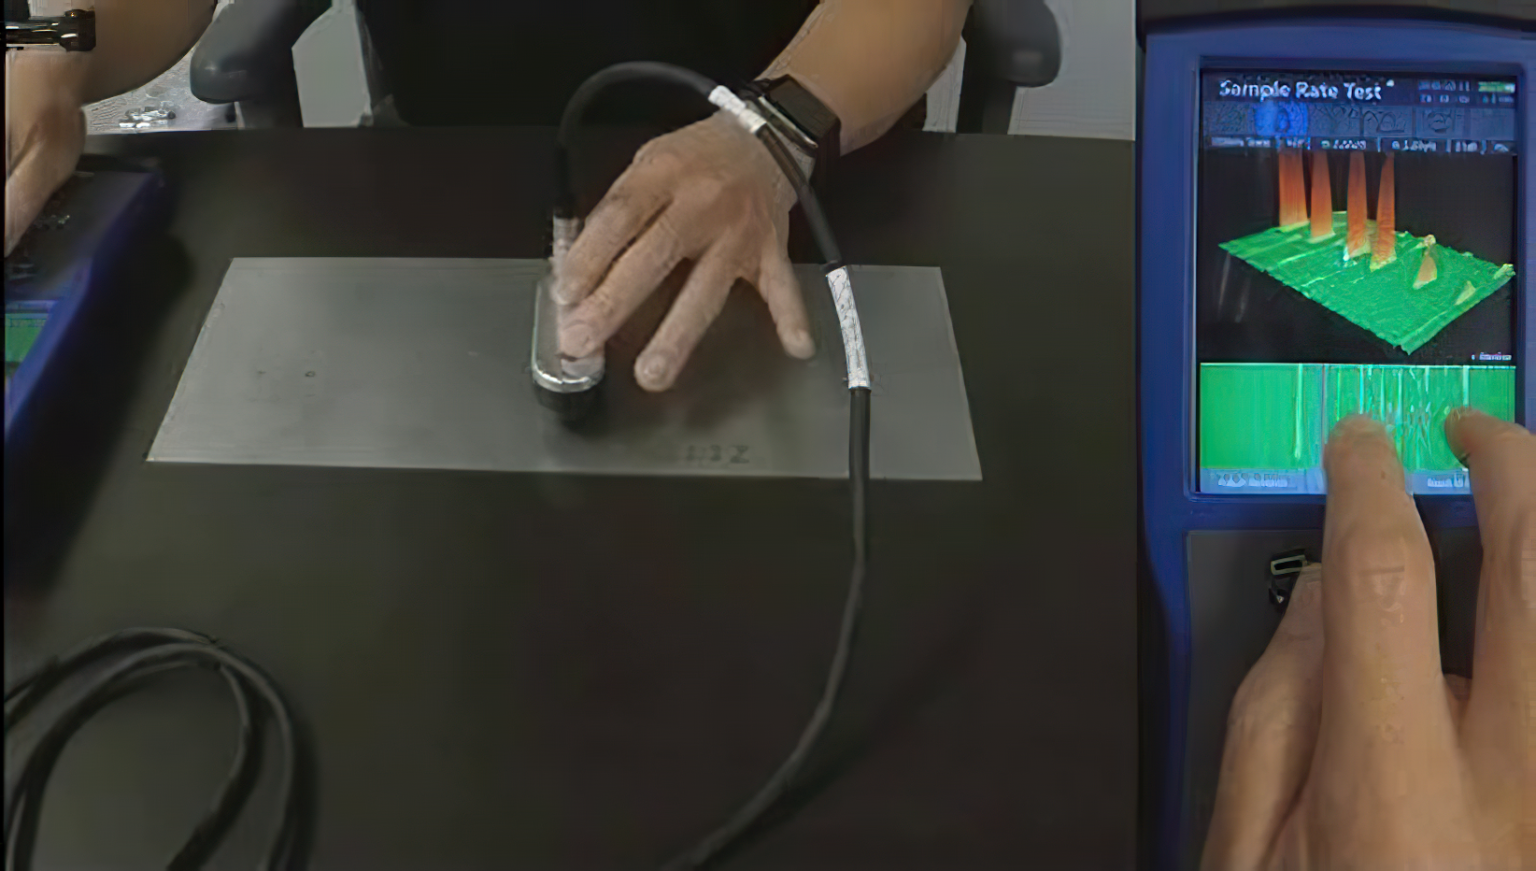
F&G TECHNOLOGIES has portable equipment for Inspection by superficial eddy currents, achieving a better application even in work at height or with difficult access.

- It allows to keep a record, for future inspections, achieving a traceability and follow-up of failures, impossible to carry out with conventional tests.
- It is a non-destructive testing method used to detect surface and sub-surface defects in ferrous and non-ferrous parts.
- It is used to inspect a very wide variety of materials cast, forged and welded joints in various applications in the Industry
- Results are obtained immediately during the scan.
- The test is faster than conventional ones, offering better productivity.
- They can be used in components with coatings without altering them.
- They can be applied to both large and small samples.
Ideal for demanding NDT applications in

-
Application time and immediate result. Data acquisition is quick and easy.
-
Allows sizing of faults.
-
Generates a data log for report, which is repeatable and analyzable offline for an analysis of progress of failure over time.
-
Does not require surface preparation. Can be applied with coating.
-
Improved flaw detection, sizing with C-scan images.
-
Replacement of PT and MT techniques.
-
It does not create a dirty environment that needs subsequent cleaning, nor does it affect the part.
-
Sensitive to surface defects found in the ultrasonic "dead zone"
-
Precise positioning of defects using coded data.
